
So I wanted a beautiful chandelier for my master bedroom to go with the red-black-cream color palette, but I didn’t want to spend $100 on something standard. The solution? Create a chandelier, DIY style!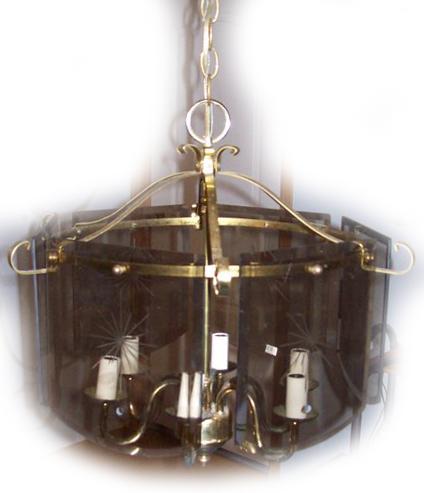
I was browsing through Salvation Army one day when I came across a ‘beauty’ — a dated, 1980’s style smoked glass chandelier. I saw that the general shape was good to work with, so I bought it for about $5 and set to work designing the new look.
After removing the glass, I decided to paint the metal red to hide the brass and tie it in with my color scheme. I protected all the connectors and electrical parts with tape and newspaper to ensure I didn’t ruin anything. Then I used a ladder and hanger to suspend the chandelier to make painting it easier.


Once the metal was red, I needed to decorate it. I decided to add beads in clear and black to further enforce the color scheme. I wanted to keep things inexpensive, so using glass beads was out. There were lots of beautiful beads to choose from, but most were out of my price range.
It took some time to locate the right beads at the right price, but when I found some clear, iridescent spaghetti beads online, I knew I had a winner. After calculating the circumference of the chandelier and the length I wanted it to be, I was able to figure out how many beads I needed. I ordered the beads, which was somewhere between 1000-2000 beads! I also found some beautiful black, iridescent, faceted round beads on the same site and ordered a few hundred to serve as an accent. I feared that I hadn’t gotten enough beads, so I found some clear seed beads at a local Wal-Mart to add to the design.
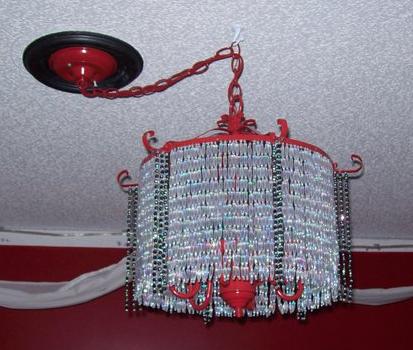
I got some fishing wire, and started stringing everything up. I put the seed bead on the end of the spaghetti bead strings to create a finished edge and to make it easier to tie off at the bottom. It took several hours, but I got all the beads strung together and tied onto the chandelier. Then I strung together the seed beads and blacks beads alternately to create the accent, and hung those on the six protruding hooks in groups of three.
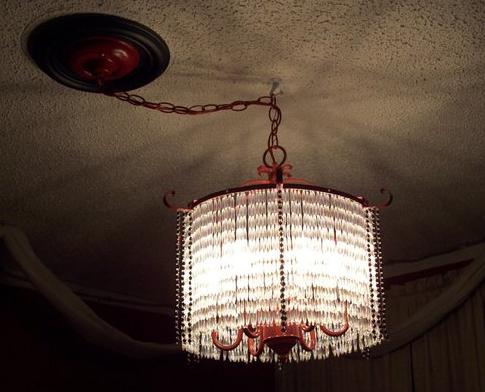
The finished look was spectacular! All I had to do at that point was install it, making sure to turn off the power, and connect the wires properly. On or off, the light fixture is gorgeous and I’m very satisfied with my DIY chandelier, which in the end cost less than $50 to create!